Here are some of the libraries we use for our static websites:
ICONS
For icons we use Font Awesome and Flaticon. They are one of the most popular ones out there and pretty useful when we’re talking about our static websites.
Font Awesome
This is the one we use the most. It has all kinds of icons, starting from brands to charts to basically anything you need for one website. The way we use this library on a day to day base is by adding the following CDN links to our <head></head> tag on the web page:
<link
  rel="stylesheet"
  href="https://cdnjs.cloudflare.com/ajax/libs/font-awesome/6.4.2/css/all.min.css"
  integrity="sha512-z3gLpd7yknf1YoNbCzqRKc4qyor8gaKU1qmn+CShxbuBusANI9QpRohGBreCFkKxLhei6S9CQXFEbbKuqLg0DA=="
  crossorigin="anonymous"
  referrerpolicy="no-referrer"
/>
<link
  rel="stylesheet"
  href="https://cdnjs.cloudflare.com/ajax/libs/font-awesome/6.4.2/css/brands.min.css"
  integrity="sha512-W/zrbCncQnky/EzL+/AYwTtosvrM+YG/V6piQLSe2HuKS6cmbw89kjYkp3tWFn1dkWV7L1ruvJyKbLz73Vlgfg=="
  crossorigin="anonymous"
  referrerpolicy="no-referrer"
/>
<link
  rel="stylesheet"
  href="https://cdnjs.cloudflare.com/ajax/libs/font-awesome/6.4.2/css/fontawesome.min.css"
  integrity="sha512-siarrzI1u3pCqFG2LEzi87McrBmq6Tp7juVsdmGY1Dr8Saw+ZBAzDzrGwX3vgxX1NkioYNCFOVC0GpDPss10zQ=="
  crossorigin="anonymous"
  referrerpolicy="no-referrer"
/>
<link
  rel="stylesheet"
  href="https://cdnjs.cloudflare.com/ajax/libs/font-awesome/6.4.2/css/regular.min.css"
  integrity="sha512-rOTVxSYNb4+/vo9pLIcNAv9yQVpC8DNcFDWPoc+gTv9SLu5H8W0Dn7QA4ffLHKA0wysdo6C5iqc+2LEO1miAow=="
  crossorigin="anonymous"
  referrerpolicy="no-referrer"
/>
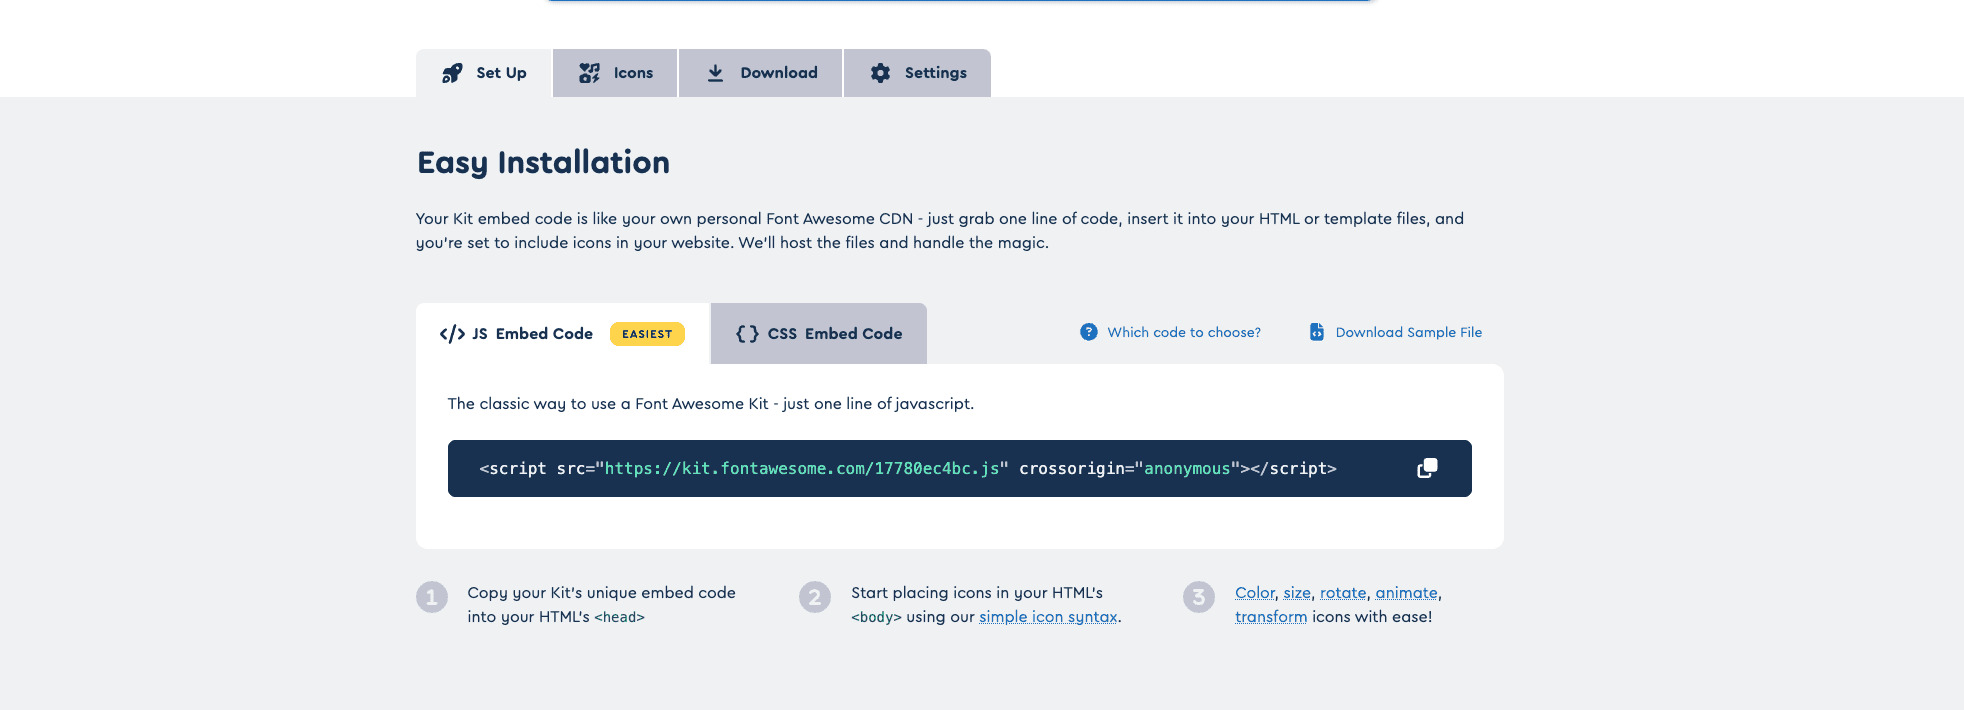
A much better practice which we started implementing is creating a font kit and embedding the kit code in our website whether it’s a <script> tag or a <link> tag. This way we are embedding our kit which has all the pro icons and it’s much faster since we are not implementing 4 different CDN links.
Guide for creating and embedding a font kit:
Log into Font Awesome and click the “Your Kits” button
That will take you to the page with the previously created kits where you can either choose an old kit or create a new one
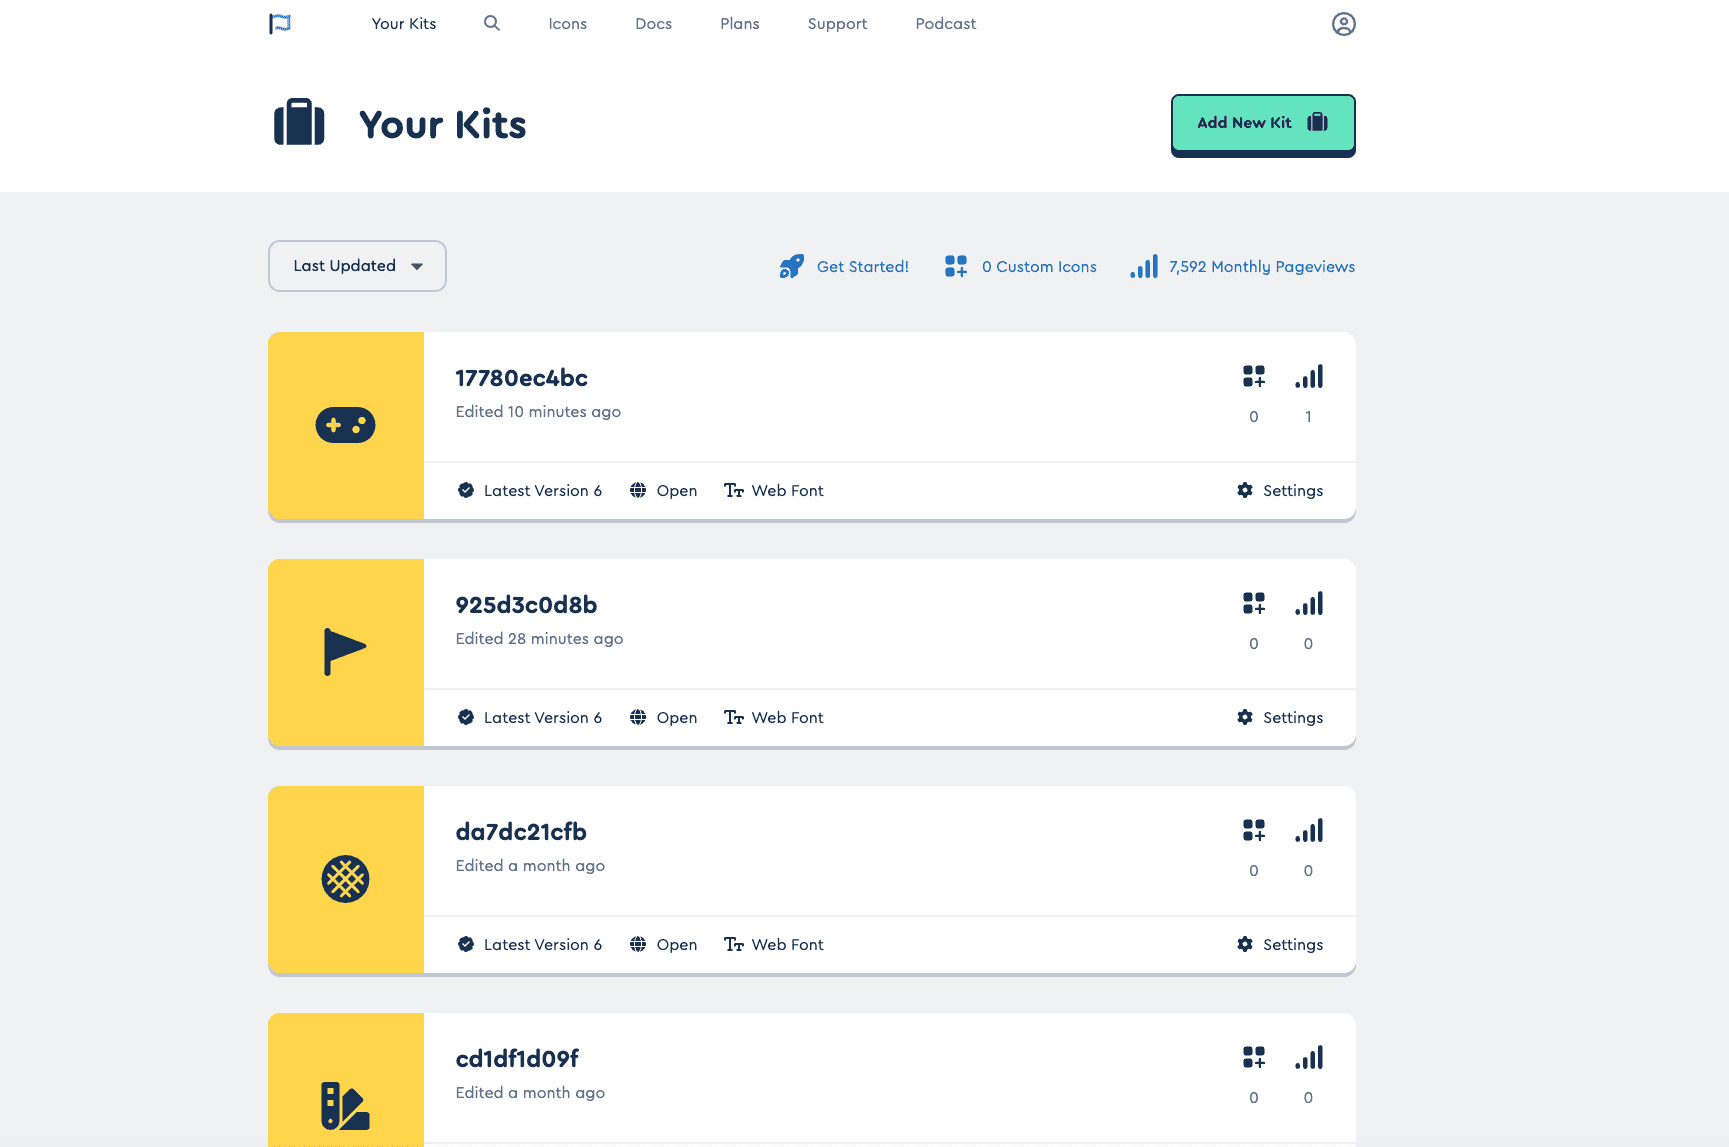
We can use one kit for multiple websites since there is a limit for creating new kits so all you’ll need to do is select the preferred kit where there will be a usage guide where you can choose the css <link> or the <script> link to embed on your website.
The same process goes when creating a new kit.
Flaticon
This library has a bit more styled and more unique icons which we also use frequently. To use this library you have to login and create a new collection where you will add your icons by clicking on the plus icon on the top right corner of the webpage.
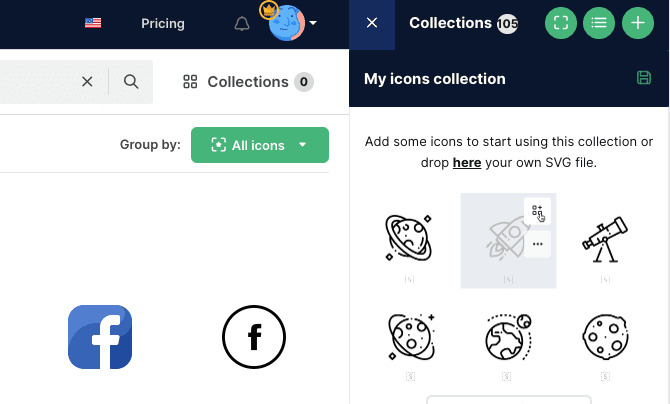
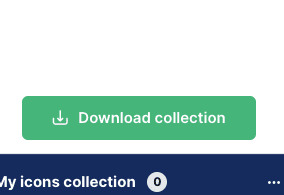
You can name your collection as the name of the website for easier management of the collections in flaticon. Once you’ve chosen your icons you can download the collection
and choose the format type of icons
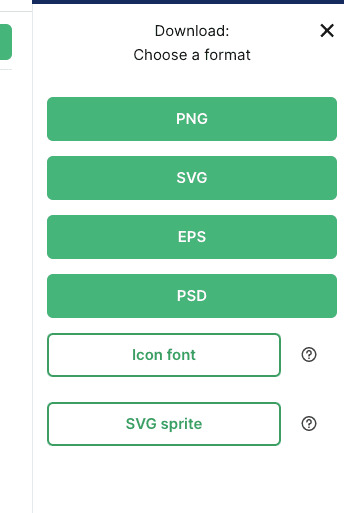 The most useful will be the icon font since we’ll be able to style it any way we need inside the code. Once you download the collection there will be a font folder with a flaticon html file where there is a usage guide on importing and using the icons.
SLIDERS
Owl Carousel
For sliders the one we use the most is Owl Carousel. The link for the official website is: Owl Carousel
One way we use it is by adding these CDN links
<link
  href="https://cdnjs.cloudflare.com/ajax/libs/OwlCarousel2/2.3.4/assets/owl.theme.default.min.css"
  rel="stylesheet"
/>
<link
  href="https://cdnjs.cloudflare.com/ajax/libs/OwlCarousel2/2.3.4/assets/owl.carousel.min.css"
  rel="stylesheet"
/>
The first 2 go in the <head></head> of the page and the next ones go before the closing of the <body></body> tag.
<script src="https://cdnjs.cloudflare.com/ajax/libs/OwlCarousel2/2.3.4/owl.carousel.min.js"></script>

<script src="https://cdn.jsdelivr.net/npm/owl.carousel2.thumbs@0.1.8/dist/owl.carousel2.thumbs.min.js"></script>
IMPORTANT NOTE:
You have to be careful to include this before your main.js file where you will need to initialize the carousels you’re using on the website.
Another way to use this carousel library is by downloading the files and including them in your project like the example below:
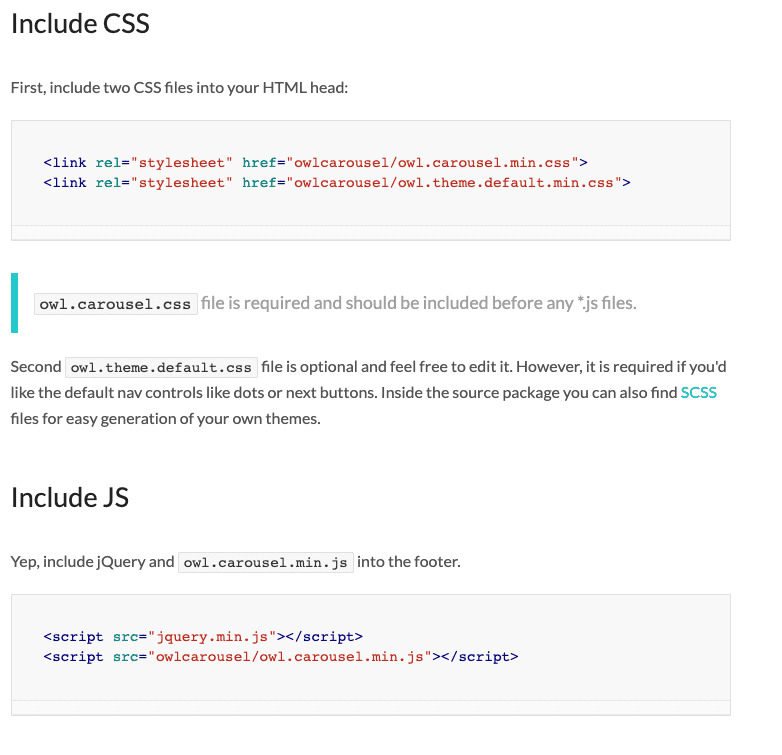
There are pros and cons using both ways of installation.
When you use the CDN links you don’t have to worry about updating the latest versions of the library and can sometimes offer better performance.
When downloading and using it locally the advantage is you have full control over the version of the library you use, reducing the risk of unexpected updates breaking your site. Also the website will still function even if the user is offline or if the CDN experiences issues. The cons of this way of usage is you have to manually update the version and also it sometimes might slow up the loading of your website.
Basic way of usage:
-
In your html file the element that is going to be the carousel has to have the owl-carousel class and preferably a custom class by your chose for example:
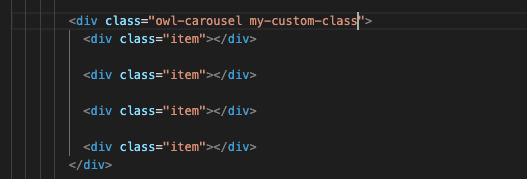
Then you will need to initialize the carousel in your .js file like this:
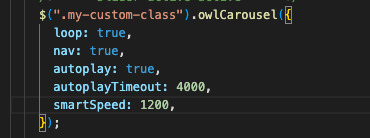
Inside you can enter all the options you need like we have here: loop, nav, autoplay, dots ect. You can find them all in the owl carousel main documentations under options.
Pros and Cons for the Owl Carousel in general
The carousel is easy to use and has the basic functions we need for most of our static websites however it is limited with it’s options especially for our ecommerce sites where we need 2 carousels where one of them should act as a navigation to the other. Also this carousel creates clones of the slides in order to have an infinite loop. When generating the slides dynamically this can sometimes cause an issue.
Swiper Slider
A slider we started and should use more frequently is Swiper which has a lot more options. The link for the Swiper documentation: Swiper
Installation:
- The easiest way of installing it is by using the CDN links given in the documentation of the slider:
<link
  rel="stylesheet"
  href="https://cdn.jsdelivr.net/npm/swiper@11/swiper-bundle.min.css"
/>
The <link></link> above goes into the <head></head> tag of the webpage and the <script></script> below
<script src="https://cdn.jsdelivr.net/npm/swiper@11/swiper-bundle.min.js"></script>
goes at the end before the closing of the <body></body> tag.
Important note:
The <script></script> tag should be before your main.js file where you will need to initialize the slider.
Basic way of usage:
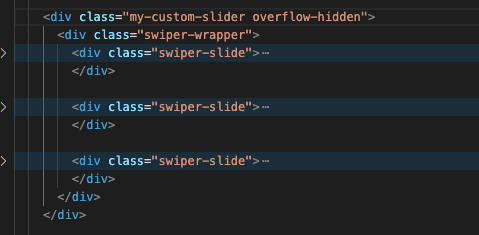
Every slide needs to have the class swiper-slide and has to be wrapped in a parent element with the class swiper-wrapper. All that needs to be wrapped again in another parent element with a class of your choice which in this case is my-custom-slider. With this class you will be able to initialize the slider in your .js file and alter it to your needs. Here is an example:
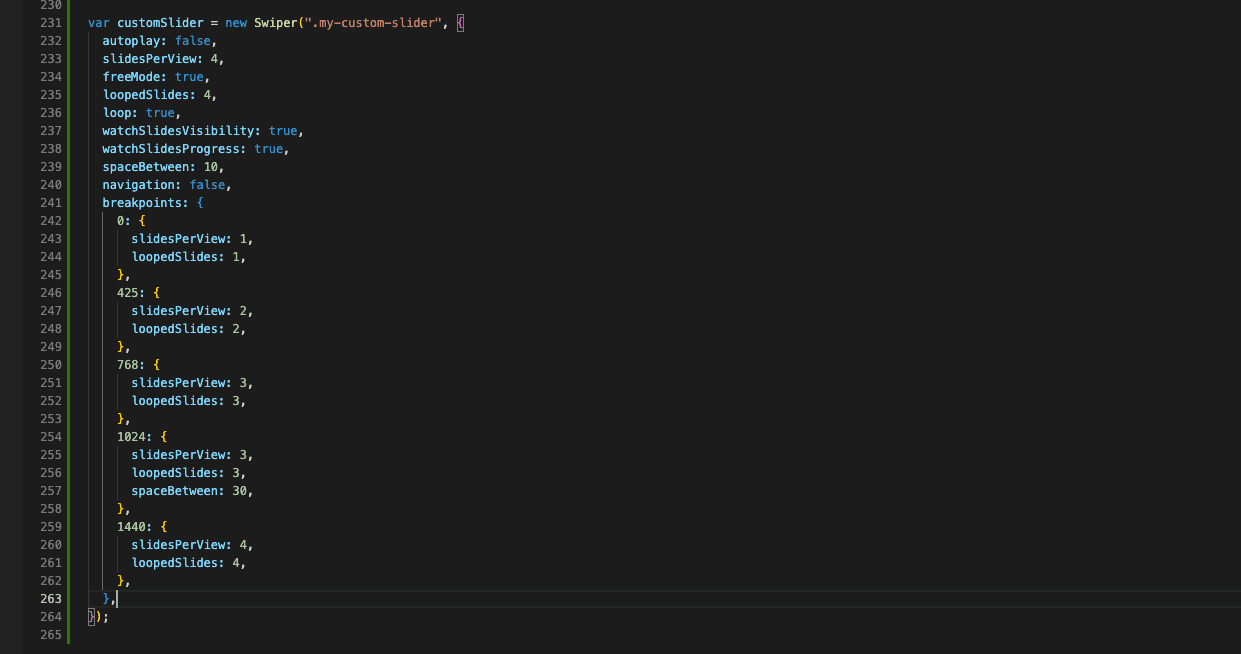
All of the options the slider has can be found on the main website SwiperJs including demos for the sliders. The pros of this slider is that it has a lot more options available and can be better manipulated especially for our ecommerce websites.
IMAGE AND VIDEO GALLERY
Lightcase Gallery
One of the plugins we use for gallery purposes is Lightcase which is really simple and easy to use. The files you will need for this plugin can be found on this link: lightcase.js
Installation
In order for this plugin to work you will mainly need the lightcase.js file, the lightcase.css file and the fonts folder which is connected with the lightcase.css file.
Link the .css and .js files accordingly: the .css file inside your <head></head> tag and the .js file right above the closing <body></body> tag. Important note: This must be added before any main.js files where you initialize the gallery.
To initialize the lightcase gallery you will need to put this code
$('a[data-rel^=lightcase]').lightcase();
In your main.js file where you have all functions.
In the css file there are fonts that are connected at the top of the file. Please check them and make sure that the path to the fonts is correct. For the video or image popup to work please connect the video you have correctly in an <a></a> tag and also importantly add
data-rel="lightcase:myCollection"
(You can name your collection by any choice)
In your main.js file where you have all functions.
Fancybox Gallery Plugin
This gallery plugin might be a better option since it has a bit more documentation on it and it has more options. Here is a link from their website with the documentation for it: fancyapps
Installation
You can easily install this plugin with the CDN links below
<link
  rel="stylesheet"
  href="https://cdn.jsdelivr.net/npm/@fancyapps/ui@5.0/dist/fancybox/fancybox.css"
/>
This connects inside the <head></head> tag in your webpage
<script src="https://cdn.jsdelivr.net/npm/@fancyapps/ui@5.0/dist/fancybox/fancybox.umd.js"></script>
And this <script></script> tag goes before the closing of the <body></body> tag.
Basic usage:
Create your element of choice whether it’s an <a></a> tag or something else. You must add the
data-fancybox="gallery"
Attribute, you can name it something else besides gallery. This enables you having multiple galleries with multiple images inside them if you name the attributes differently. You must use the href=”” or the data-src=”” (depending if you’re using an <a></a> tag or something else) attribute to specify the content source to display in the Fancybox.
You must add this code
Fancybox.bind('[data-fancybox]', {
  // Your custom options
})
In order to initialize the gallery. This must be added after the CDN links or in an external .js file which will be connected below the CDN links.
Animate On Scroll
To use the Animate On Scroll (AOS) library with Astro, you can follow these steps:
Install
You can include AOS in your project by adding it as a dependency using npm or yarn:
npm install aos
Import AOS Styles:
In your Astro project, you'll need to import AOS styles to apply the animations correctly. You can do this by importing the AOS CSS file in your project's global CSS file or in individual components where you want to use AOS animations:
/* global.css */
@import 'aos/dist/aos.css';
Initialize AOS:
After importing AOS, you need to initialize it in your JavaScript code. You can do this in your layout file or in individual components where you want to use AOS animations. You typically initialize AOS with some options to customize its behavior:
// layout.astro or any other JavaScript file
import AOS from 'aos'
import 'aos/dist/aos.css' // Import AOS styles

AOS.init({
  duration: 800, // Duration of animation in milliseconds
  offset: 200, // Offset (in pixels) from the original trigger point
  easing: 'ease-in-out', // Easing function for the animation
  once: true, // Whether animation should only happen once
})
Add AOS Attributes:
To trigger animations on specific elements, you can use AOS attributes in your HTML markup. Add the data-aos attribute to the elements you want to animate and specify the type of animation you want:
<div data-aos="fade-up">Content to animate</div>
AOS provides various animation options such as fade, fade-up, fade-down, fade-left, fade-right, zoom-in, zoom-out, etc. You can find the full list of available animations in the AOS documentation.
Advanced Usage
AOS offers additional options and customization features, such as specifying the offset, duration, easing, and whether animations should only occur once. You can explore the AOS documentation for more advanced usage scenarios and customization options.
By following these steps, you can integrate the Animate On Scroll library into your Astro project and add scroll-triggered animations to create engaging user experiences.